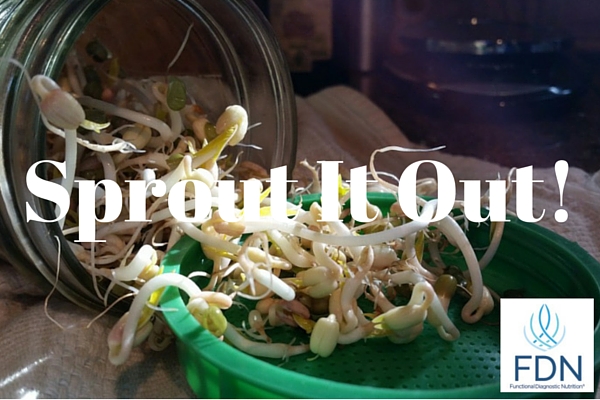
Do you sprout seeds or beans regularly? FDN Practitioner and functional health coach Jennifer Savage shares the health benefits of sprouting seeds and beans and how you can start sprouting at home.
Sprouts are truly beautiful. And delicious! I will gladly fork over bucks to the health food store for a box of them for salads and wraps as I think they add the perfect twist to my favorite avocado/peanut sauce combo. Unfortunately, though, that small box of sprouts is PACKED and I never get to the bottom before they start going bad. Yes, I know, it took days to package and ship to the store…days on the shelf….days in my fridge. So I started thinking…with all these days gone by, how many nutrients are even left by that time? Certainly fresh would be better….and that one thought started my love affair with sprouting seeds and legumes. This article will focus on mung beans, but this method will work for most seeds or beans, such as alfalfa sprouts and broccoli seed sprouts.
Why sprout? It is not just for the freshness factor. Sprouting turns that little bean or seed, packed with phytic acids, into living plant nutrient powerhouses! Phytic acids can bond with and make absorption of vital minerals, such as zinc, calcium and magnesium, almost impossible. Once sprouting starts, this acid is neutralized and the sprout is easily digested.
How easy is it to sprout your own? Sprouting is like having a quick producing, mini-garden on your counter top. All year long I have a source of fresh sprouts in just a matter of days. I can rotate types and amounts so that I always have some available without having too many on hand to consume. No more wasted beautiful sprouts!
Let’s get started! You will need:
- 1 Glass Jar (I use a Mason jar)
- 1 T Mung beans
- 1 Mesh jar lid (you can also use clean cheese cloth or a nut milk bag)
 Step 1:
Add 1 T of mung beans to a clean glass jar and fill halfway with water.
Screw on the mesh lid or use a rubber band with your cheese cloth or bag.
Set the jar on the counter and leave for a total of 24 hours.
I usually start mine in the morning and just make this a daily morning project.
Step 2:
After 24 hours, drain the beans and rinse while still in the jar.
Swish them around a bit and drain fully.
I do turn my jar upside down in a small dish to collect any leftover water and to help the beans drain better.
Rinse and drain one more time in about 12 hours.
Step 3:
We are now on day 3 of the project and you should be seeing small spouts forming.
Just like day 2, we want to rinse and drain in the morning and afternoon.
Step 4:
We are now on day 4 of the project and you should see sprouts on all the beans, with the sprouts doubled in length since the day before.
I usually have about half a jar by this time but having a little less is okay too.
You may just need an extra day to get a full jar. Just like day 3, we want to rinse and drain in the morning and afternoon.
Step 5:
We are now on day 5 of the project and my jar is about full with the sprouts.
I could let it go another day (and you may wish to do that) but this is where I like to stop the process.
I do give the sprouts one last rinse and drain before I transfer to the fridge. Moving them to the cold will halt their growth.
Finally, here are the sprouts, ready to eat and enjoy
To learn more about Jennifer Savage visit her website Savagelyhealthy.com or you can also find her on Facebook.


